We are accustomed to teaching with a model in front of a child, but these instructions should make it so that anyone can build one without our presence. We urge that parents and teachers be there to guide – but to allow the child to try to let the materials (and a picture of the final product) guide them. A wrong direction is always un-doable until you've glued something.
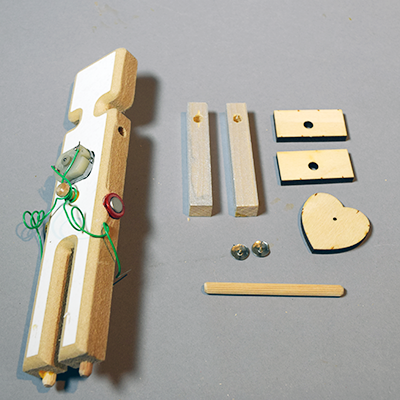
The Parts.
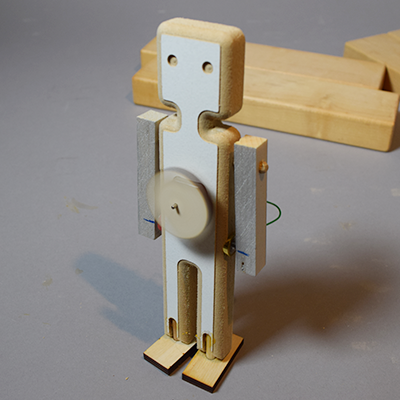
Step 1. Place the dowel through the hole where the arms go. Gently push the piece (heart shape, circular etc) with the tiny hole in the center onto the shaft of the motor. Put the feet onto the small dowels sticking out of the legs. Make sure they will stand your robot up on a flat surface. You may want to put a bit of glue on the feet to hold them on.
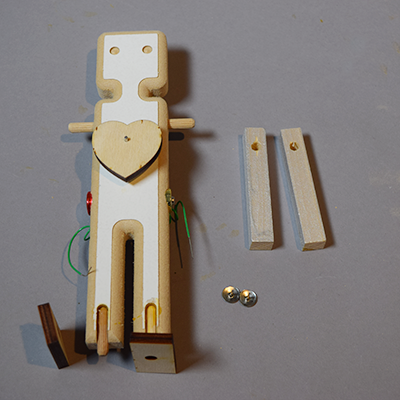
Step 2. Push the arms onto the dowels at the shoulder. Make a mark where the battery touches the inside of the arms.
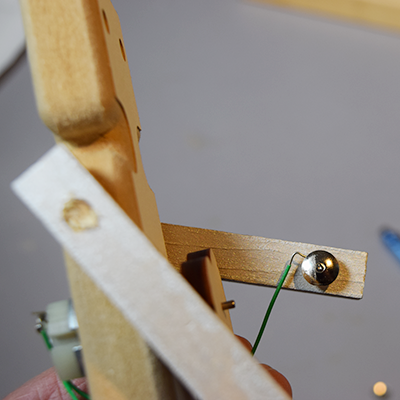
Step 3. Push a thumbtack into the inside of the arm where the mark is and put one of the motor wires under the thumbtack. Push it down very hard so it doesn't slip out and there is no plastic underneath the tack. Do this on each arm.

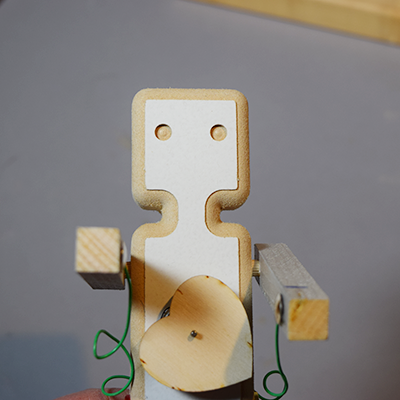
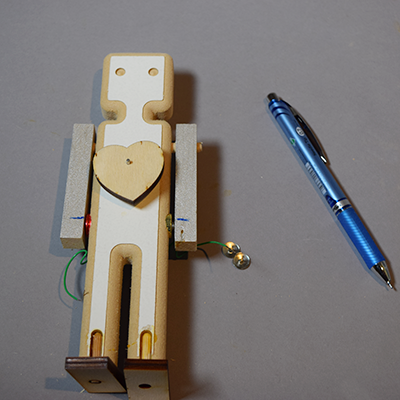
Step 4. It shoud look like this.

Step 5. Stand up your robot and let it 'dance' when it's arms are by it's side.